Whether you’re trying contacts for the first time or still getting the hang of your routine, don’t worry—it’s completely normal to feel nervous at first. But once you follow these steps and understand the “why” behind them, you’ll be popping in your lenses like a pro in no time.
🧼 Step 1: Wash and Dry Your Hands Thoroughly
Why? Your eyes are sensitive, and your lenses sit directly on your eyeball. Any dirt, germs, or oils from your hands can cause irritation or even eye infections.
How to do it properly:
- Use a mild, unscented soap (fragrance-free is best—perfumed soaps leave residue).
- Scrub for at least 20 seconds, especially under your fingernails.
- Rinse off all soap completely.
- Dry your hands with a clean, lint-free towel or paper towel. Avoid bathroom towels—they can leave fibers or bacteria.
✅ Pro Tip: Make sure your fingers are fully dry before handling the lens—it prevents slipping and helps with grip.
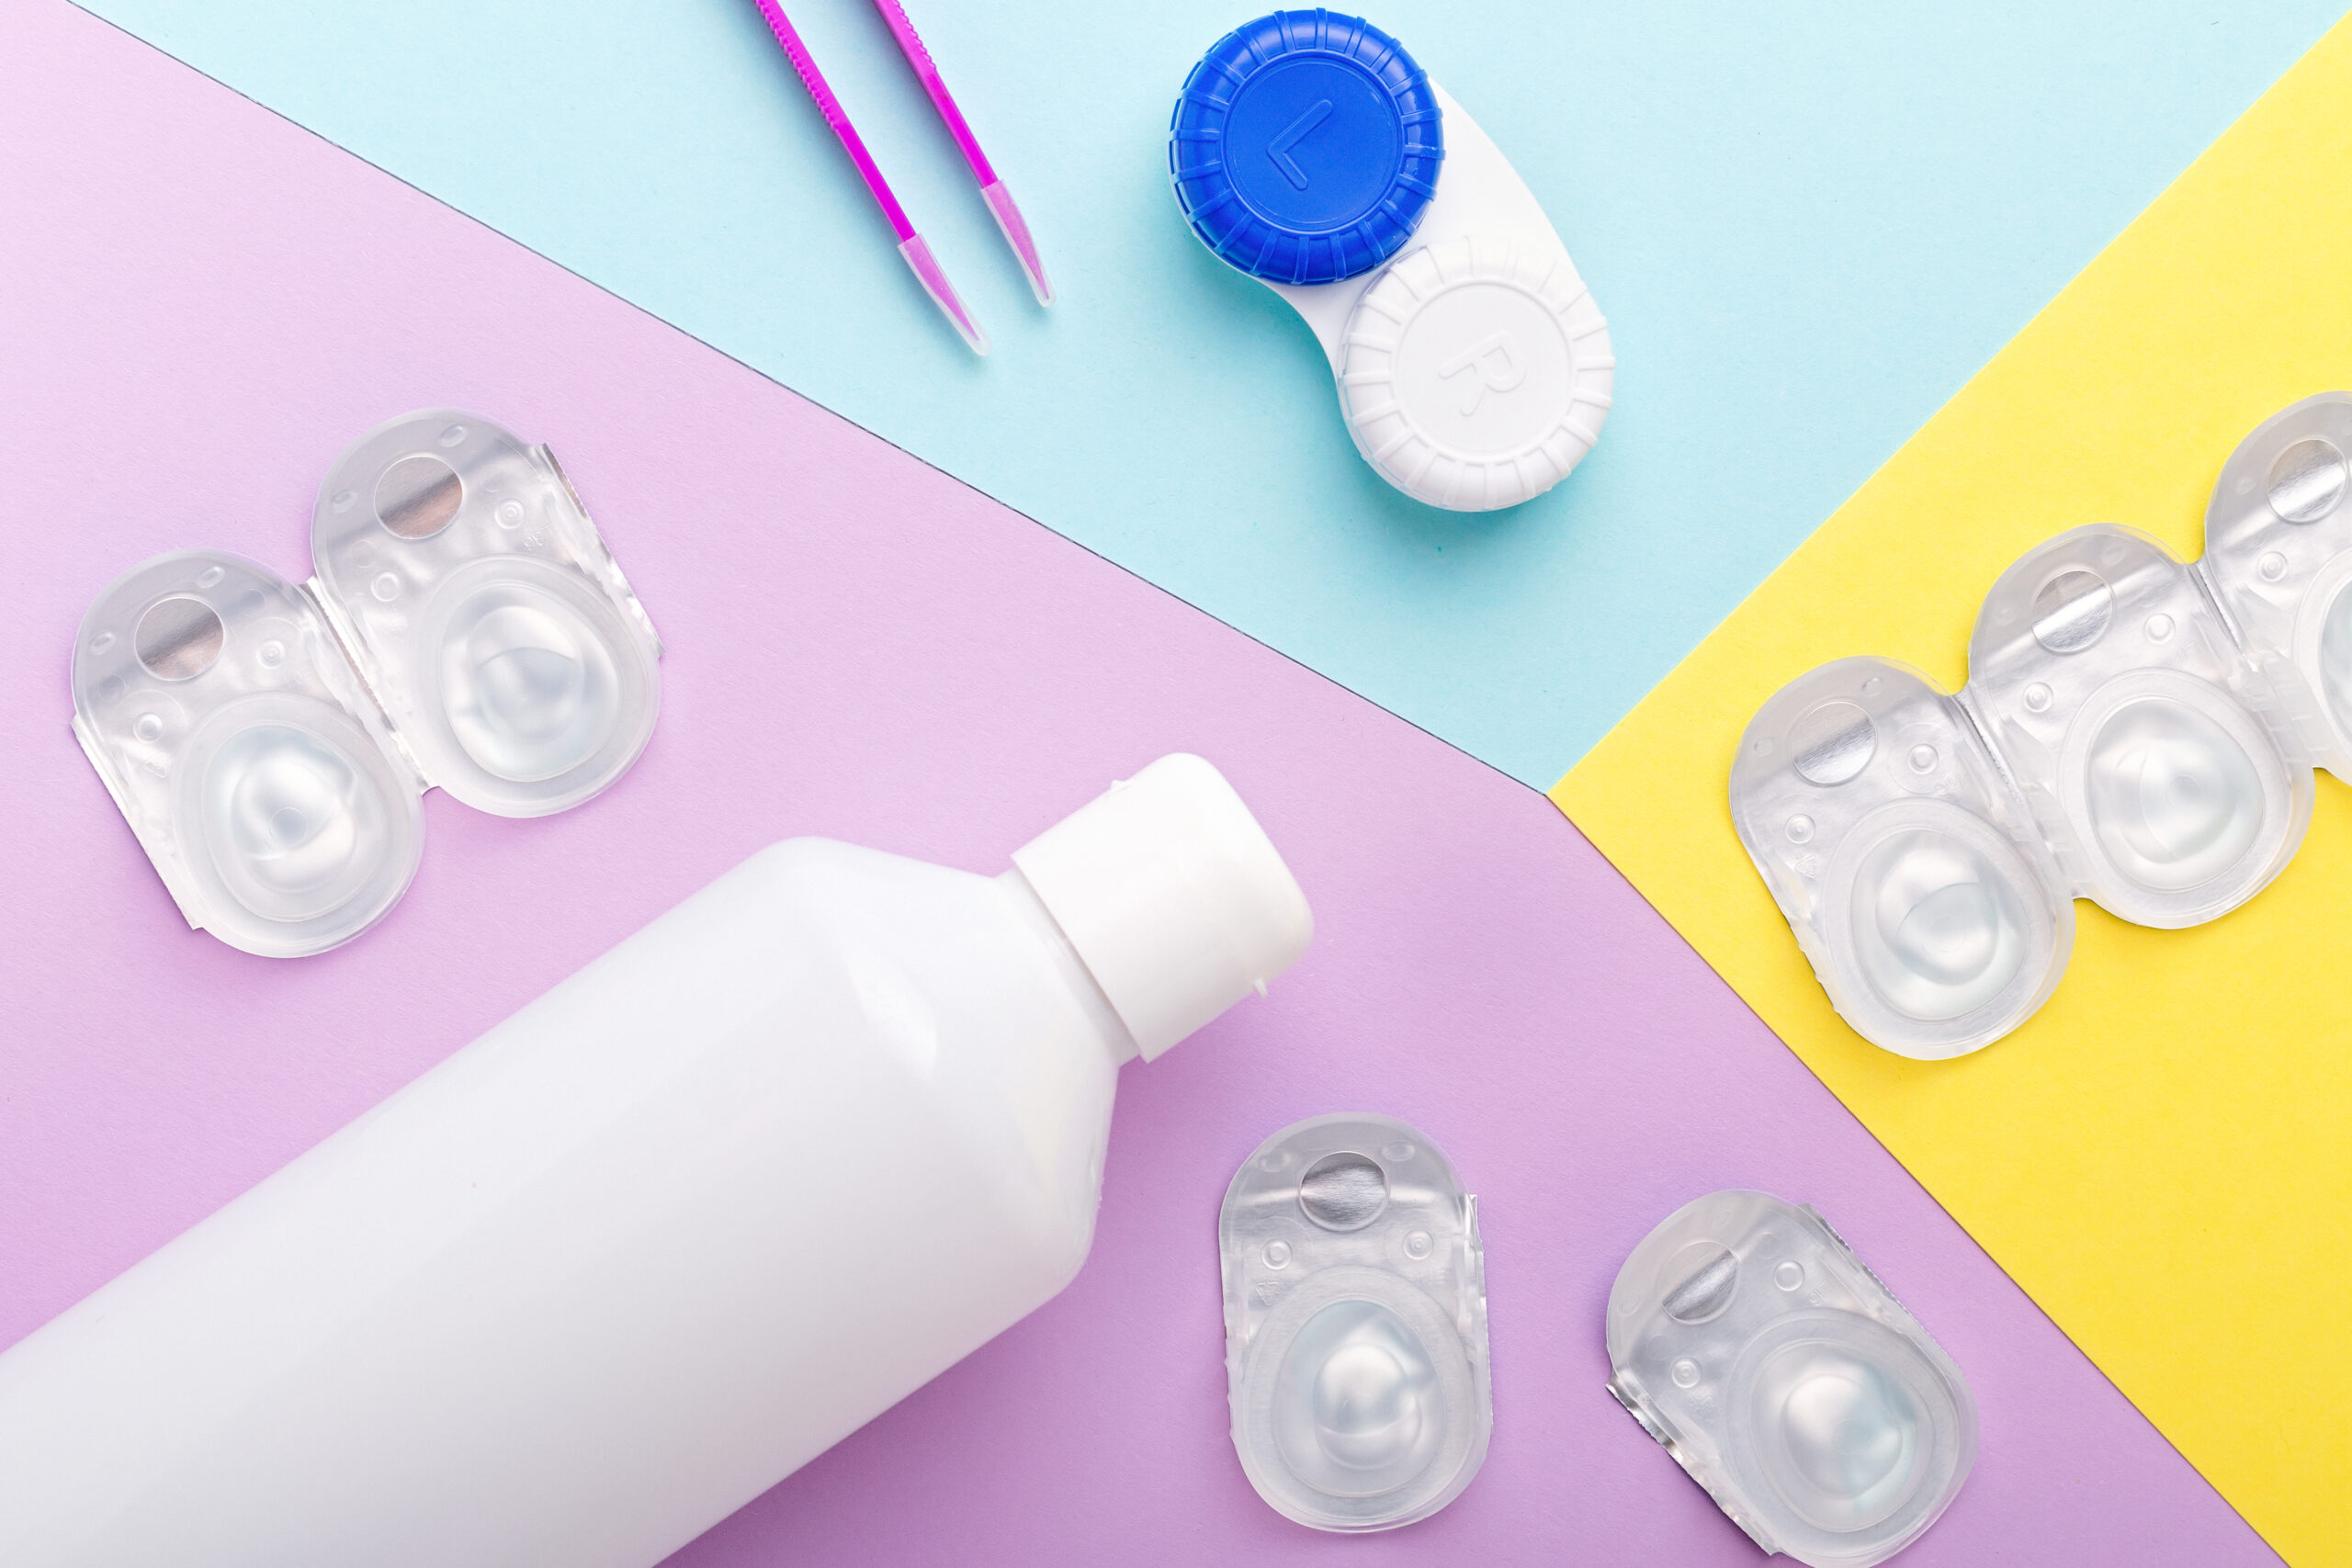
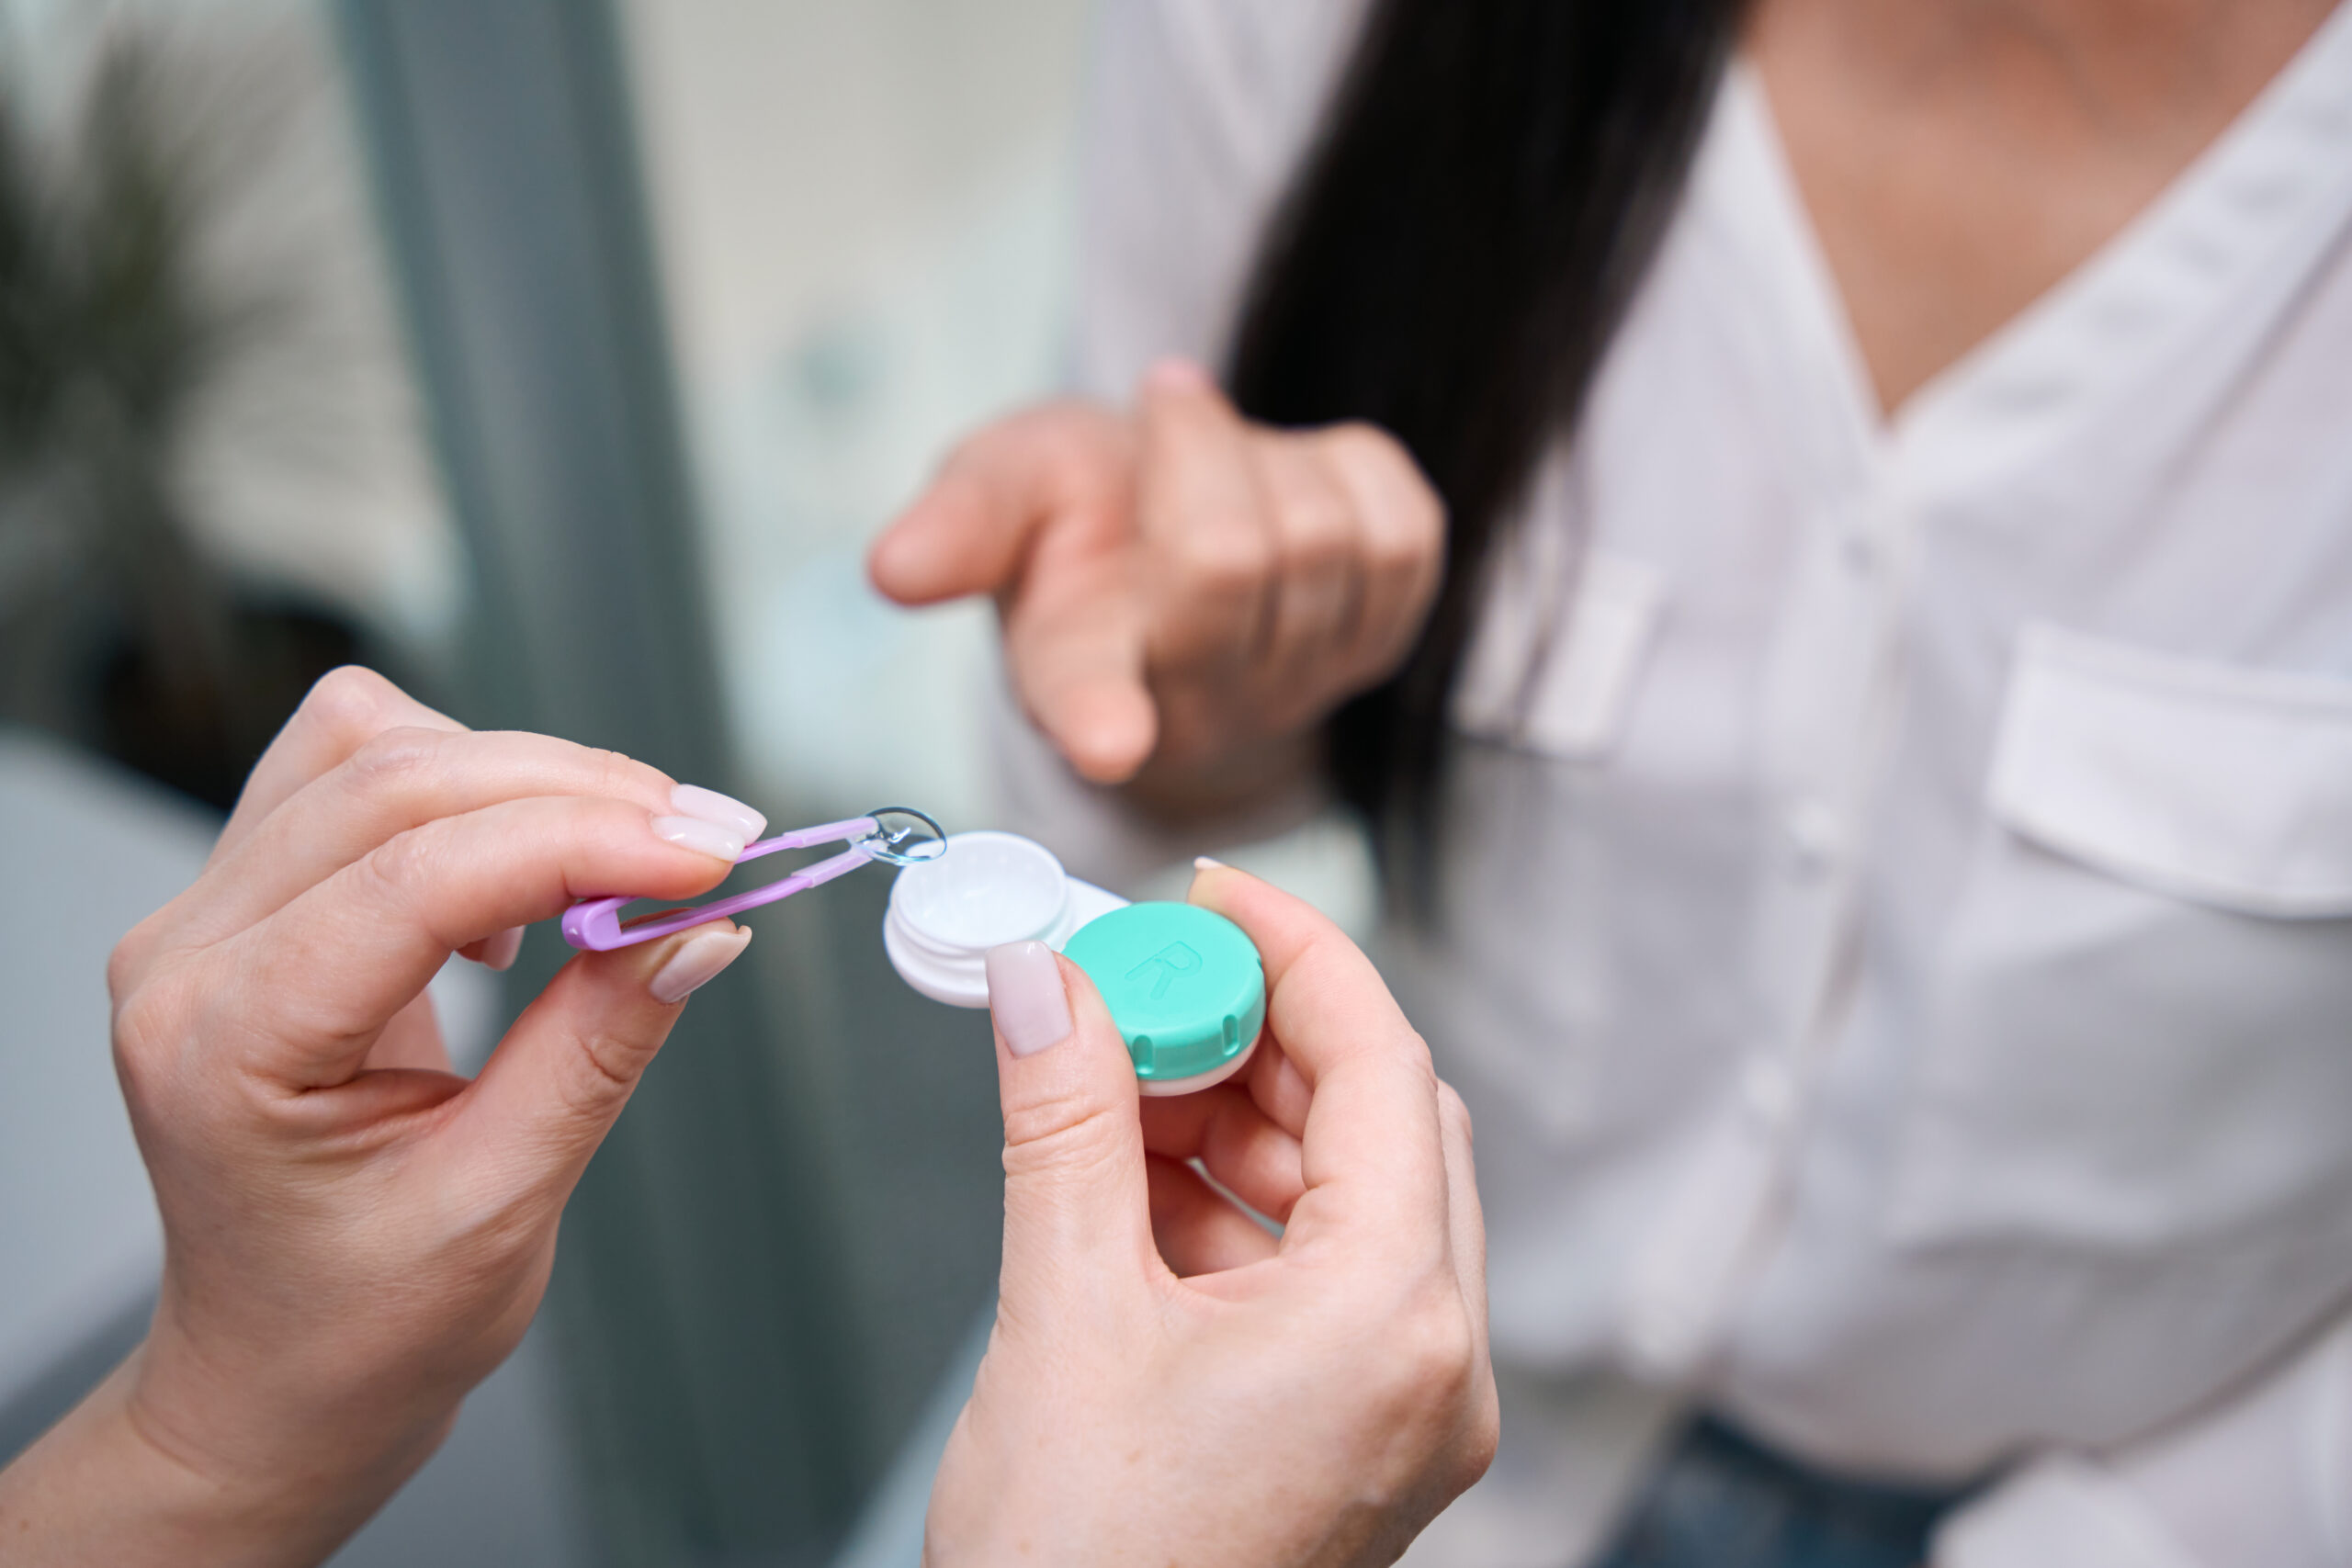
📦 Step 2: Open the Lens Container Carefully
Why? Lenses are delicate and sterile. You want to avoid damaging them or introducing germs.
How to do it:
- If your lenses are in a blister pack, gently peel back the foil cover.
- Use your fingertip (not nails!) to scoop the lens out. Never use tweezers or sharp objects.
- If using a lens case, always double-check which side is left and which is right to avoid mixing them up.
Check the lens orientation:
- Place the lens on your fingertip like a cup.
- Look from the side: If the edges curve outward (like a bowl with a rim), it’s inside out.
- If it forms a smooth “U” shape, it’s correct.
✅ Pro Tip: Some brands have laser markings (like a “123”); if the numbers look reversed, flip it!
👁️ Step 3: Hold Your Eye Open Gently But Firmly
Why? Blinking reflex is strong. Holding your eyelids steady prevents sudden blinking while you’re placing the lens.
How to do it:
- Use your non-dominant hand to lift your upper eyelid.
- Use the middle finger of your dominant hand to pull down your lower eyelid.
- Keep both eyes open and try to look straight into a mirror or focus on your finger as it approaches.
✅ Pro Tip: Try placing a mirror flat on a table and looking down into it—it can make the process easier if you’re nervous.
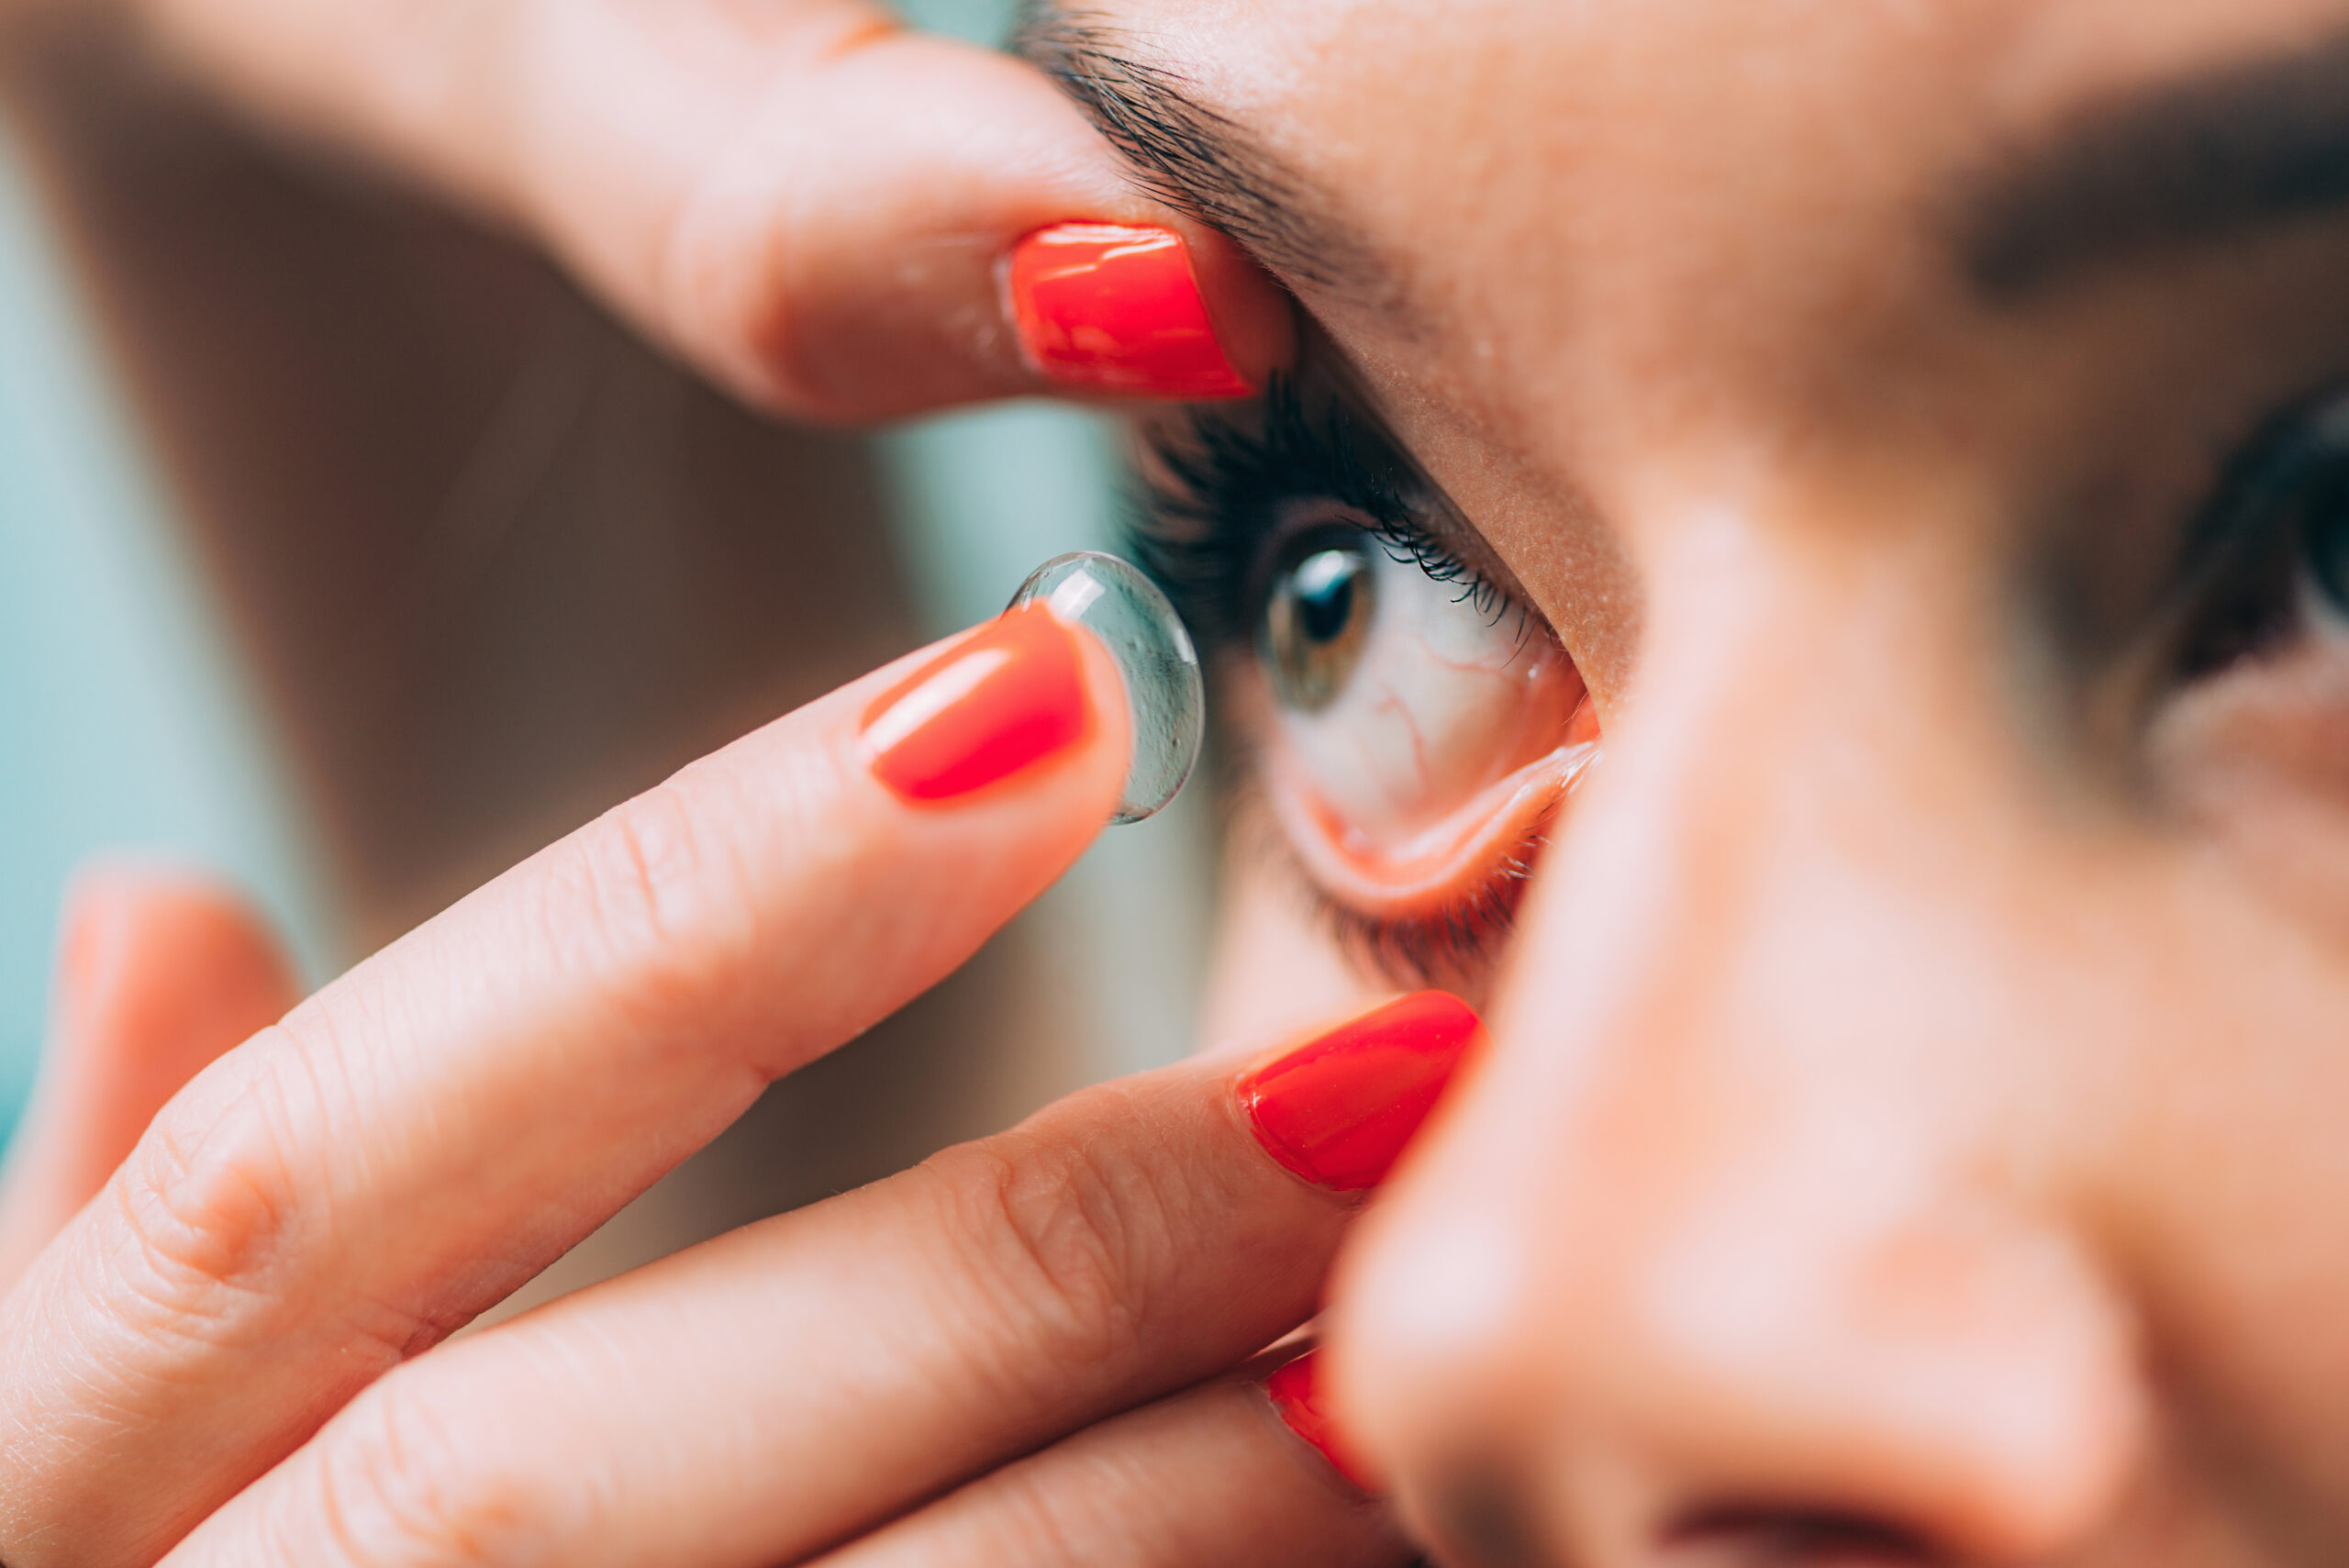
👉 Step 4: Place the Lens on Your Eye
Why? This is the moment of truth—getting the lens to gently rest on your eye without folding, slipping, or falling off.
How to do it:
- With the lens balanced on your index finger, bring it slowly towards your eye.
- Try to look slightly upward or straight ahead.
- Gently touch the lens to your eye—it will usually “suction” on by itself.
Once it’s on:
- Look in all directions to help center the lens.
- Blink slowly and naturally—the lens should settle and become almost unnoticeable.
✅ Pro Tip: If it stings or feels off, remove it, rinse with solution, and try again. Never force it.
✅ Step 5: Confirm Fit, Comfort, and Vision
Why? Just because the lens is in doesn’t mean everything’s perfect. A quick check helps avoid discomfort during your day.
How to do it:
- Blink a few times.
- Check your vision—is it clear? It should feel like a natural part of your eye.
- Look in the mirror to confirm the lens is centered. If it’s off-center, look in the opposite direction to guide it back.
If it’s uncomfortable:
- Remove the lens.
- Rinse it thoroughly with lens solution (never water).
- Check for dust, fibers, or damage before reapplying.
✅ Pro Tip: A properly placed lens should feel like nothing. Any burning, itching, or cloudiness means something’s wrong—don’t ignore it!
💧 Bonus Step: Use Rewetting Drops If Needed
If your eyes feel dry or tired during the day, rewetting drops (available in pharmacies for ₹300–₹600) can help restore comfort.
- Use preservative-free drops for sensitive eyes.
- Apply while wearing the lens—1–2 drops in each eye as needed.
- Blink gently to distribute.
✅ Pro Tip: Keep a small bottle in your bag or pocket for long days, especially if you’re in AC or on screens a lot.
🛑 Common Mistakes to Avoid
Mistake | Why It’s Bad |
|---|---|
Using tap water to rinse lenses | Contains bacteria that can cause serious eye infections |
Sleeping in lenses not designed for it | Reduces oxygen flow to your eyes; may cause irritation |
Not replacing lenses on schedule | Leads to buildup of proteins and bacteria |
Mixing up left and right lenses | Can mess with your vision and increase the risk of eye strain |
👁️🗨️ How to Take Out Contact Lenses – A Step-by-Step Guide
Taking out your lenses might feel tricky at first, especially if you’re nervous about touching your eyes. But once you get the hang of it, the process becomes quick, easy, and part of your daily routine.
🧼 Step 1: Wash and Dry Your Hands
Why? Before you touch your eyes, it’s essential to make sure your hands are clean. This prevents the transfer of dust, oil, or bacteria to your eyes.
How to do it:
- Use a fragrance-free, mild soap to avoid irritation.
- Rinse thoroughly to remove all soap residue.
- Dry your hands with a lint-free towel or tissue.
✅ Pro Tip: Even a tiny speck of dirt can feel huge when it’s between your eye and a lens—so always start clean!leo.
🪞 Step 2: Stand in Front of a Well-Lit Mirror
Why? Good lighting and a steady hand are key to seeing and reaching the lens without irritation.
How to do it:
- Use a mirror at eye level, or place a mirror on a clean, flat surface and look down.
- Have your lens case filled with fresh contact lens solution ready.
✅ Pro Tip: Do this over a table or towel to avoid losing the lens if it falls.
👁️ Step 3: Hold Your Eyelids Open
Why? Holding your eyelids helps prevent blinking, which is the body’s natural reflex.
How to do it:
- With your non-dominant hand, gently hold your upper eyelid.
- With your dominant hand, pull down your lower eyelid using your middle finger.
✅ Pro Tip: Keep your fingers gentle, but firm—no need to pull hard.
👉 Step 4: Pinch and Remove the Lens
Why? This is the actual removal step—you’ll gently take the lens off the surface of your eye.
How to do it:
- Look straight ahead or slightly up.
- Use your index finger and thumb of your dominant hand to lightly pinch the lens.
- Avoid using nails—only soft pads of your fingers.
- Once pinched, gently pull the lens out and place it in your palm or directly into the case.
✅ Pro Tip: If the lens is dry or sticking, blink a few times or add a drop of saline or rewetting solution to help loosen it.
🧴 Step 5: Clean and Store the Lens (If Reusable)
Why? If you’re wearing monthly or biweekly lenses, proper cleaning is key to keeping them safe and comfortable.
How to do it:
- Place the lens in your palm.
- Add a few drops of contact lens solution (never water).
- Rub the lens gently with your fingertip for 10–15 seconds.
- Rinse with more solution and store it in a clean lens case filled with fresh solution.
✅ Pro Tip: Change your contact lens case every 1–3 months to prevent bacteria buildup.
🗑️ For Daily Disposables? Just Toss Them
If you’re using daily disposable lenses, do not store or reuse them. Simply:
- Remove,
- Check if the lens is intact (not folded or torn),
- Toss it in a trash bin.
♻️ IVALens recommends using a clean tissue or a lens disposal case if you’re on the go.
🧠 Common Mistakes to Avoid
Mistake | Why It’s a Problem |
|---|---|
Using fingernails to pinch lenses | Can tear the lens or scratch your eye |
Removing lenses with dry eyes | Causes discomfort and may pull the lens harder |
Not washing hands properly | Risk of eye infection |
Reusing solution in the case | Old solution contains bacteria and protein buildup |
💡 Tips for Beginners
- Practice slowly. You don’t need to rush.
- Keep blinking naturally before and after.
- If you’re having trouble, take a short break and try again after using rewetting drops.
🧠 Final Words
Putting in contact lenses is like riding a bicycle—awkward at first, but soon you’ll do it without thinking. Be gentle, be patient, and trust yourself. Your comfort and eye health always come first.
If you’re wearing IVALens lenses, they’re designed to be ultra-soft, high-oxygen, and beginner-friendly—so the process should be even smoother.